
7 things to check before the white water season starts
It’s getting to that time of year again. The winter rains are on their way (hopefully) and with one super weekend of boating under our belts already this season we got thinking about what we always check at the start of the season. So here it is, our top 7 things to check before the white-water season starts:
1. Cags and Dry-Suits
Is your dry-wear still up to par? On a frosty November morning the last thing you want is to get on the water for the first time in a while, or at least wearing your dry-suit for the first time in a while, only to realise after the first big splash or roll that your trusted dry-wear is no longer particularly dry. This can not only make a fun day a lot less enjoyable, but if you take a particularly long swim or have to be in the water for any considerable amount of time for whatever reason the risk of hypothermia increases greatly.

We’ve already written a blog covering how to check over your dry-wear and make it last longer. To summarise this, check your seams, check the taping, check to see if there’s any delamination and also check to make sure no mice have gotten at the armpits!
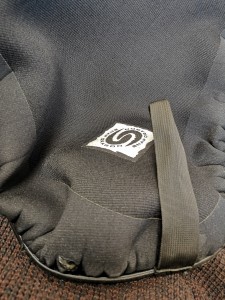
2. Buoyancy Aid
Your buoyancy aid is arguably one of your most important pieces of kit. When your boat is no longer with you and you find yourself in the middle of the river no one has ever thought, “being less floaty would make this situation way better”. I know I definitely didn’t the last time I swam.
A few key areas to check though are:
Zips – Make sure these move freely and haven’t corroded at all.
Buckles – Are there any broken parts? Do they open and close as you’d expect.
Straps – These should be free from any snags or tears and slide freely through the adjustment buckles.
Overall fabric condition – Check for any tears in the fabric, signs of excessive abrasion, excessive fading and broken stitching, all of which could suggest the shell is no longer structurally sound.
Foam – If you can feel the foam really moving around inside your BA this can indicate that the foam has deteriorated and is no longer as buoyant.
Floatation – Every now and then it isn’t a silly idea to do a float test on your BA, particularly if your BA is over 3 years old. The lovely people over at Palm have made a great little video showing just how easy it is to test you BA.
3. Helmet
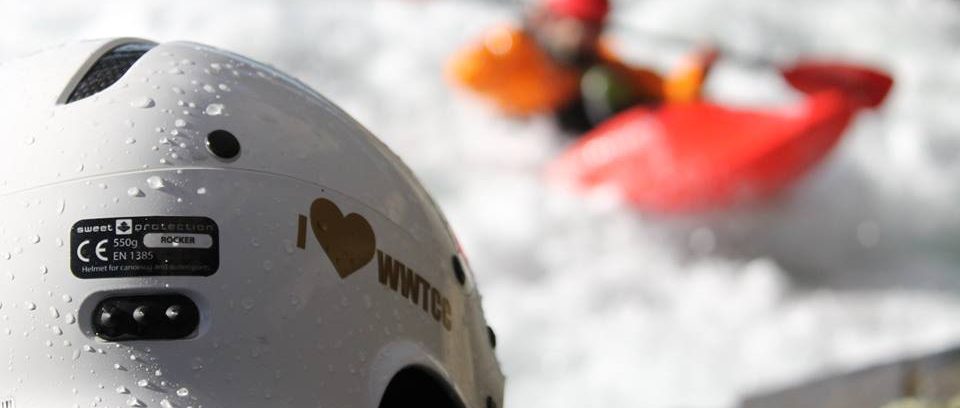
Another crucial bit of kit is your helmet. While these can appear to last a good long time, any heavy knocks will mean that they need replacing. Even if there is no visible damage to the helmet, impacts can cause damage to the helmets internal structure, thus weakening it. It is also recommended that helmets be replaced after three years of normal use, sooner when used particularly regularly an in sunny environments. Obviously, if there’s a massive ding or scratch in the helmet then it’s time for a new one. Furthermore, any straps or buckles that are fraying, torn, snagged or broken mean the helmet is due to be replaced.
Many people don’t realise that paint, ink and some adhesives can damage the integrity of a helmet and as such also void you’re warranty.
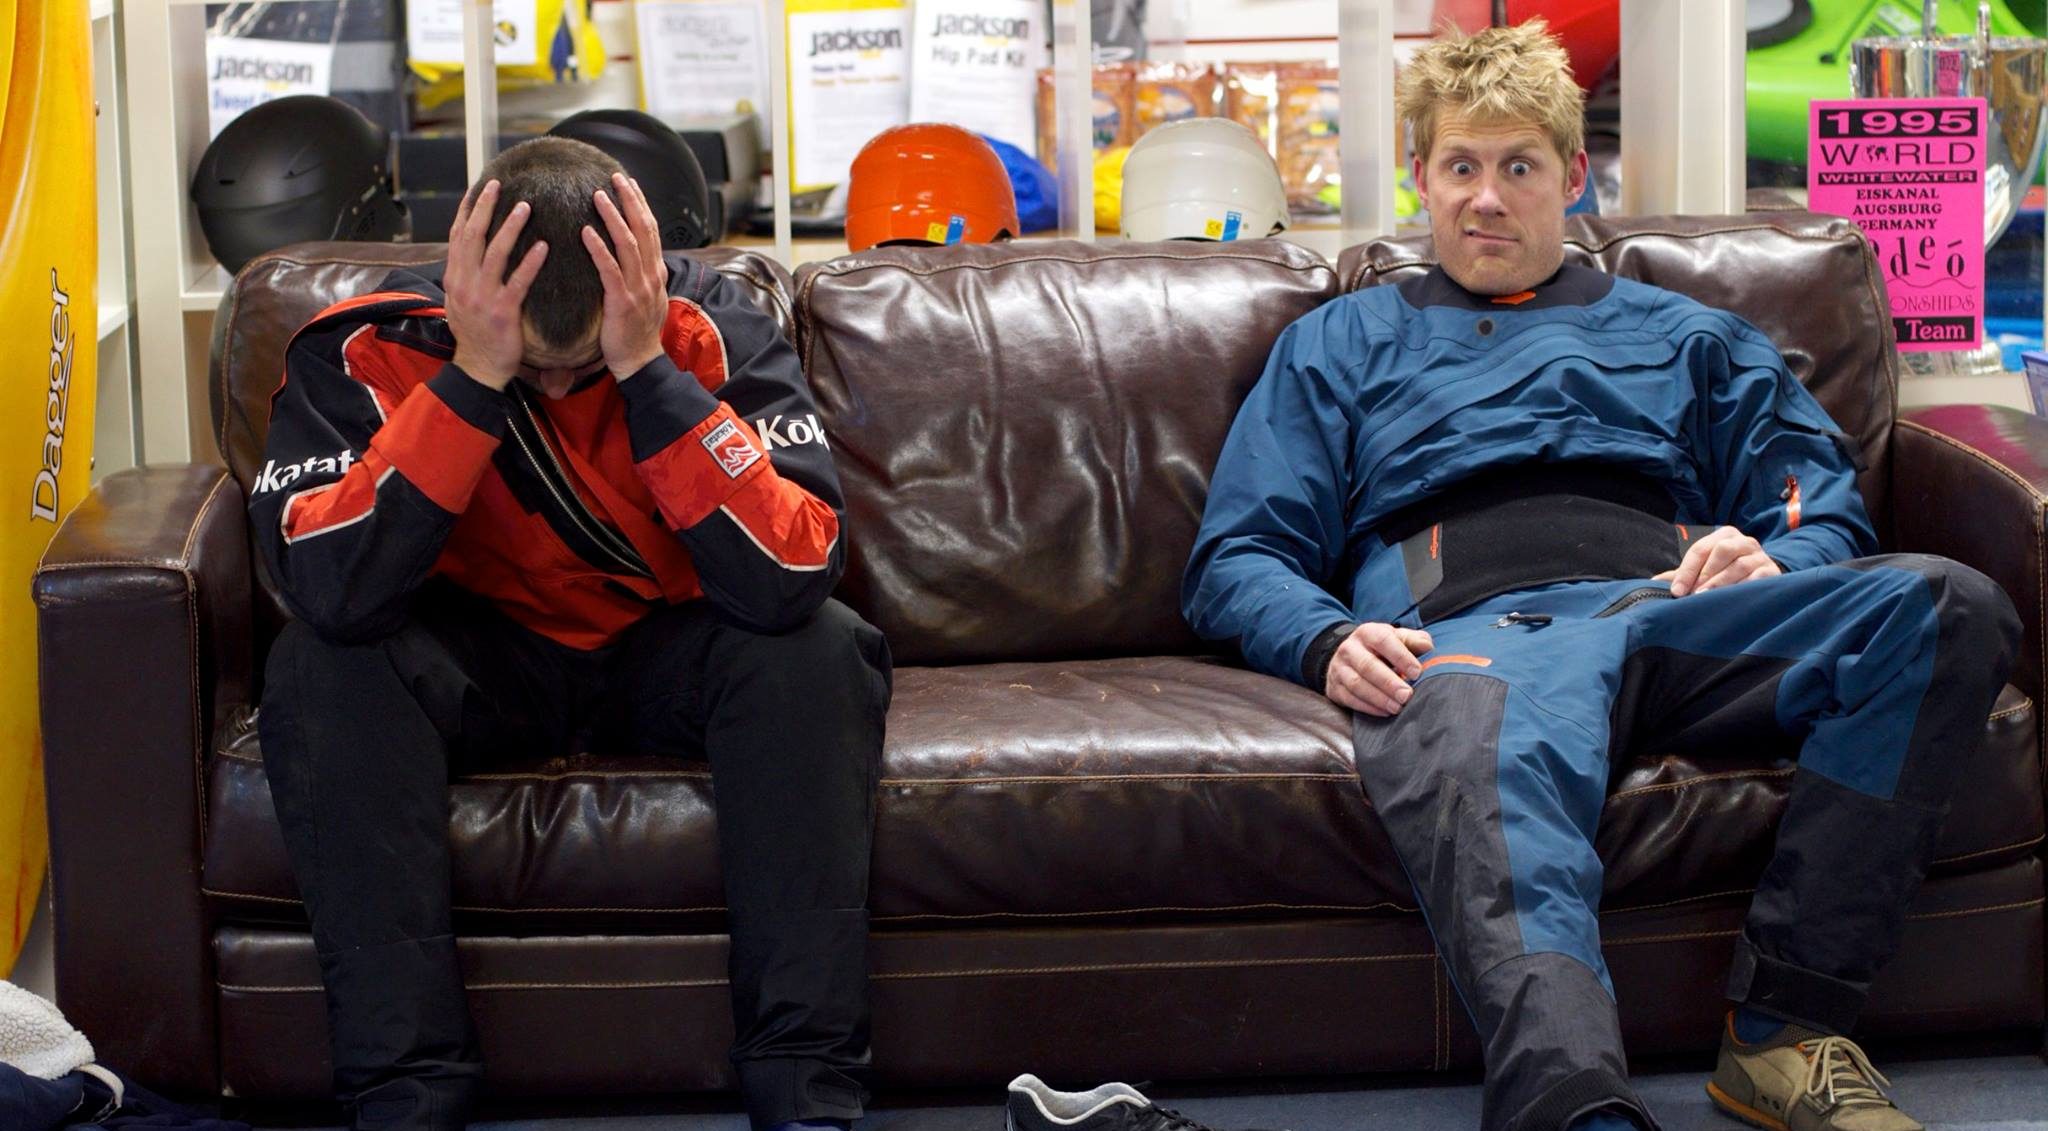
The shop helmet retirement home.

It really isn’t worth not replacing your helmet. After all, you only have one head!
If you think it’s time for a new lid check out our online shop, or even better pop in and see us to try some on and see what fits you.
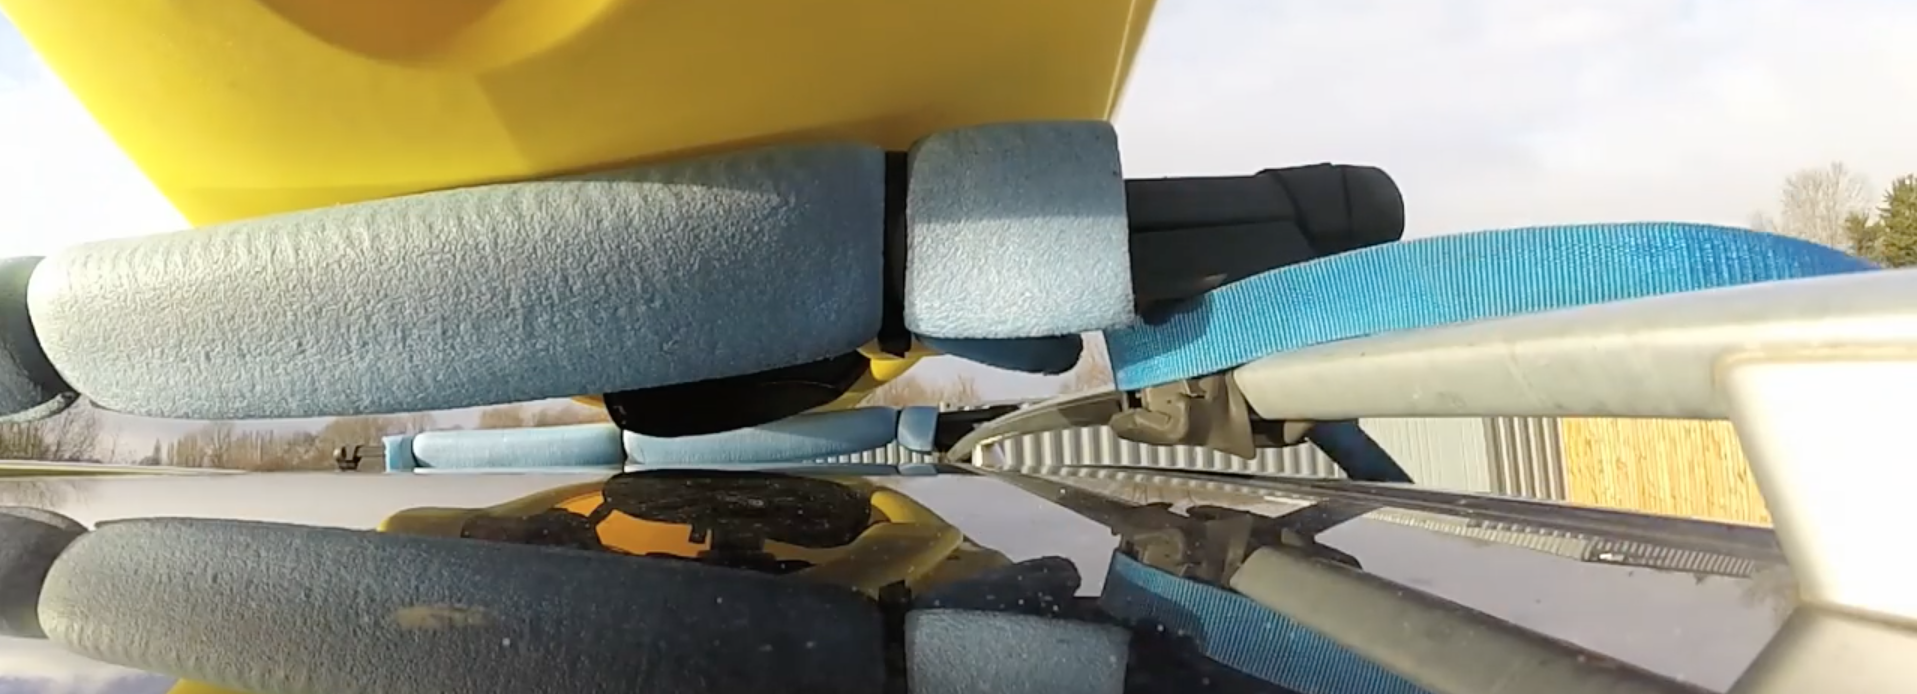
4. Roof-rack Straps
Now this may not seem that important but if you’ve had your straps stashed away for the summer in the shed, you’re going to be pretty gutted if you go to chuck your boat on the roof only to find a mouse has ruined all your fun. It’s well worth checking your straps for any nicks, snags or tears, as well as the actual cam. Make sure the spring on the cam is still functioning and hasn’t seized with rust, the teeth haven’t worn away and that the strap doesn’t just slip through under tension. If you’re straps are due for renewal we’ve got a range of options here.
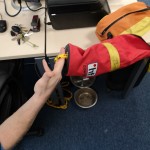
5. Safety Kit
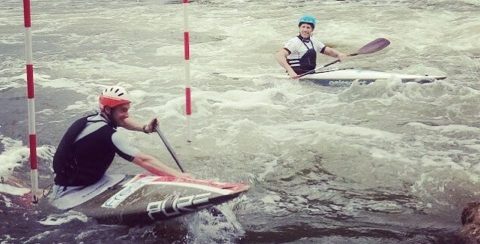
Unless you check it through beforehand, you probably won’t realise that half your safety kit isn’t fit for purpose until you need it. Many people seem to leave safety kit as a second thought, a trait particularly noticeable in individuals who spend most of their time paddling at venues such as Lee Valley. Unfortunately, the vast majority of rivers don’t come with pre-prepared bank support so having all your safety kit in working order and knowing how to use it is imperative. A few key bits to check are:
A fun game of spot the swimmer.
Throwline – Many people would argue that this is one of the most important bits of safety kit you should have. While people love to argue over whether this is true, everyone that paddles white water and wishes to be a useful member of any group should carry one and as such know how to use one. It is always worth checking your throwline over and personally I do so before and after every trip and you can easily do it while packing your rope into the bag or hanging it up to dry.
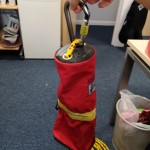
Firstly, you want to check the bag condition, looking for any holes and tears, as well as making sure the top fastening is working as it should. Secondly, check the knot tying the rope into the bag, making sure the rope is secure and hasn’t come loose. Palm recommend using a rethreaded figure of eight to tie into the bag, making sure the knot is well dressed with an adequate tail. On bags where the rope forms a loop through the bag when tying in, think carefully about the size of the loop you leave. Lastly, as you repack or coil the bag run your hand along the rope. If there are any snags or knots, you’ll be able to feel these easily. Whilst doing this also look over the rope to see if the core is exposed anywhere (you’d probably be able to feel this too). Knots you can just untie (an over hand knot can half the breaking force of a rope) but snags and exposed core are indicative that your rope is due be retired and replaced. Old throwlines make great drying lines.
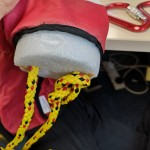
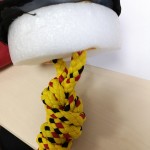
Retying the knot in this HF Compact, using a re-threaded figure of eight. Note the loop is large enough for a karabiner yet too small to ensnare a hand.
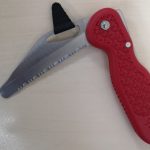
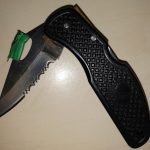
Knife – Carry a rope, carry a knife. If you haven’t looked at your knife for a while, especially if its been left in your BA getting damp all summer, its worth checking it hasn’t seized, rusted and dulled. You don’t want to be in a situation where you urgently need your knife only to find you can’t open the thing.
While the knife on the right still works you can see (hopefully) where rust is likely to occur.
Chest Harness – Does the quick release work as it should? Check there are no frays in the harness; not only could these give under load, but also there is the potential for these to snag through the quick release mechanism.
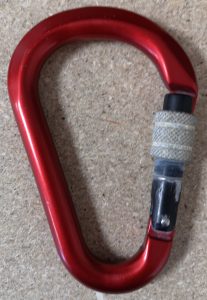
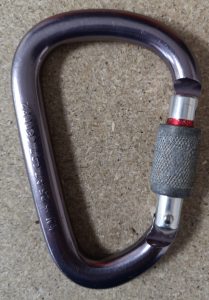
Karabiners – There’s plenty of different ideologies about how many karabiners you should have on you, with some people oblivious to the idea that these are vital for many rescues situations and others carrying enough to make climbers wince. Realistically you can’t go too wrong with a couple of screwgates and a couple of wiregates. Either way, check you know where all of yours are and check that they work! Screwgates that are regularly taken on the water have a horrible tendency to rust and seize if not rinsed in fresh water and allowed to dry and quite frankly what’s the point in a screwgate that doesn’t screw? If the mechanism is starting to seize but still just about works, its always worth trying a bit of WD-40. That stuff has magical powers. Check your wiregates aren’t bent out of shape and give the backs of each a good once over to make sure there’s no big chunks missing.
The right hand and center screwgate have both corroded with the right hand completely seized and the center being damaged. The left hand karabiner is new for reference.

Tapes and Slings – If you’ve gotten this far in this blog already you can probably guess what you’re going to need to look out for: tears, snags and holes. You can easily check for these at the start and end of each session when coiling and rolling them up. Don’t fall into the trap of thinking you can get away with a nick in your tape. While this might be fine for a short tow or throw you would be amazed at the loads that runs through these when used in a mechanical advantage system. A nick or tear could be the difference between success and your rig falling apart before your eyes.
First Aid Kit – If you haven’t looked at your first aid kit for a while its definitely worth checking through its contents and replacing anything out of date. Also make sure you are “in date”. If it’s been a while since your last first aid course a refresher is never a bad idea, especially if you get on one specifically focused on first aid the outdoors.
Never feel like first aid and rescue courses are just a box to tick off. If its been a while since you’ve done a course, or used any of the skills learned, its always worthwhile doing a refresher.
6. Spraydeck
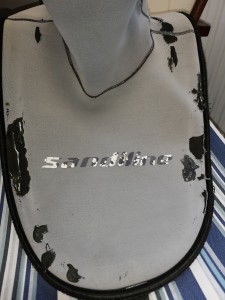
No one likes a leaky deck. Your bum gets chilly if you’re in shorts, you have to empty your boat an annoying amount, it’s all just rather unpleasant. Give your deck a once over and if there’s only a small hole that water is coming through then normally this can be fixed with bit of Aquaseal. A good dob on each side and force it in the hole and your deck will still be perfectly serviceable. If the rand or bungee is shot though or your deck looks like a slice of Emmental that’s a different matter. You can check our range of decks here.
The left hand deck has a small repair in the bottom left of the photo and has done two seasons like this wonderfully. The right hand deck however nearly had more glue than neoprene and had to be replaced.
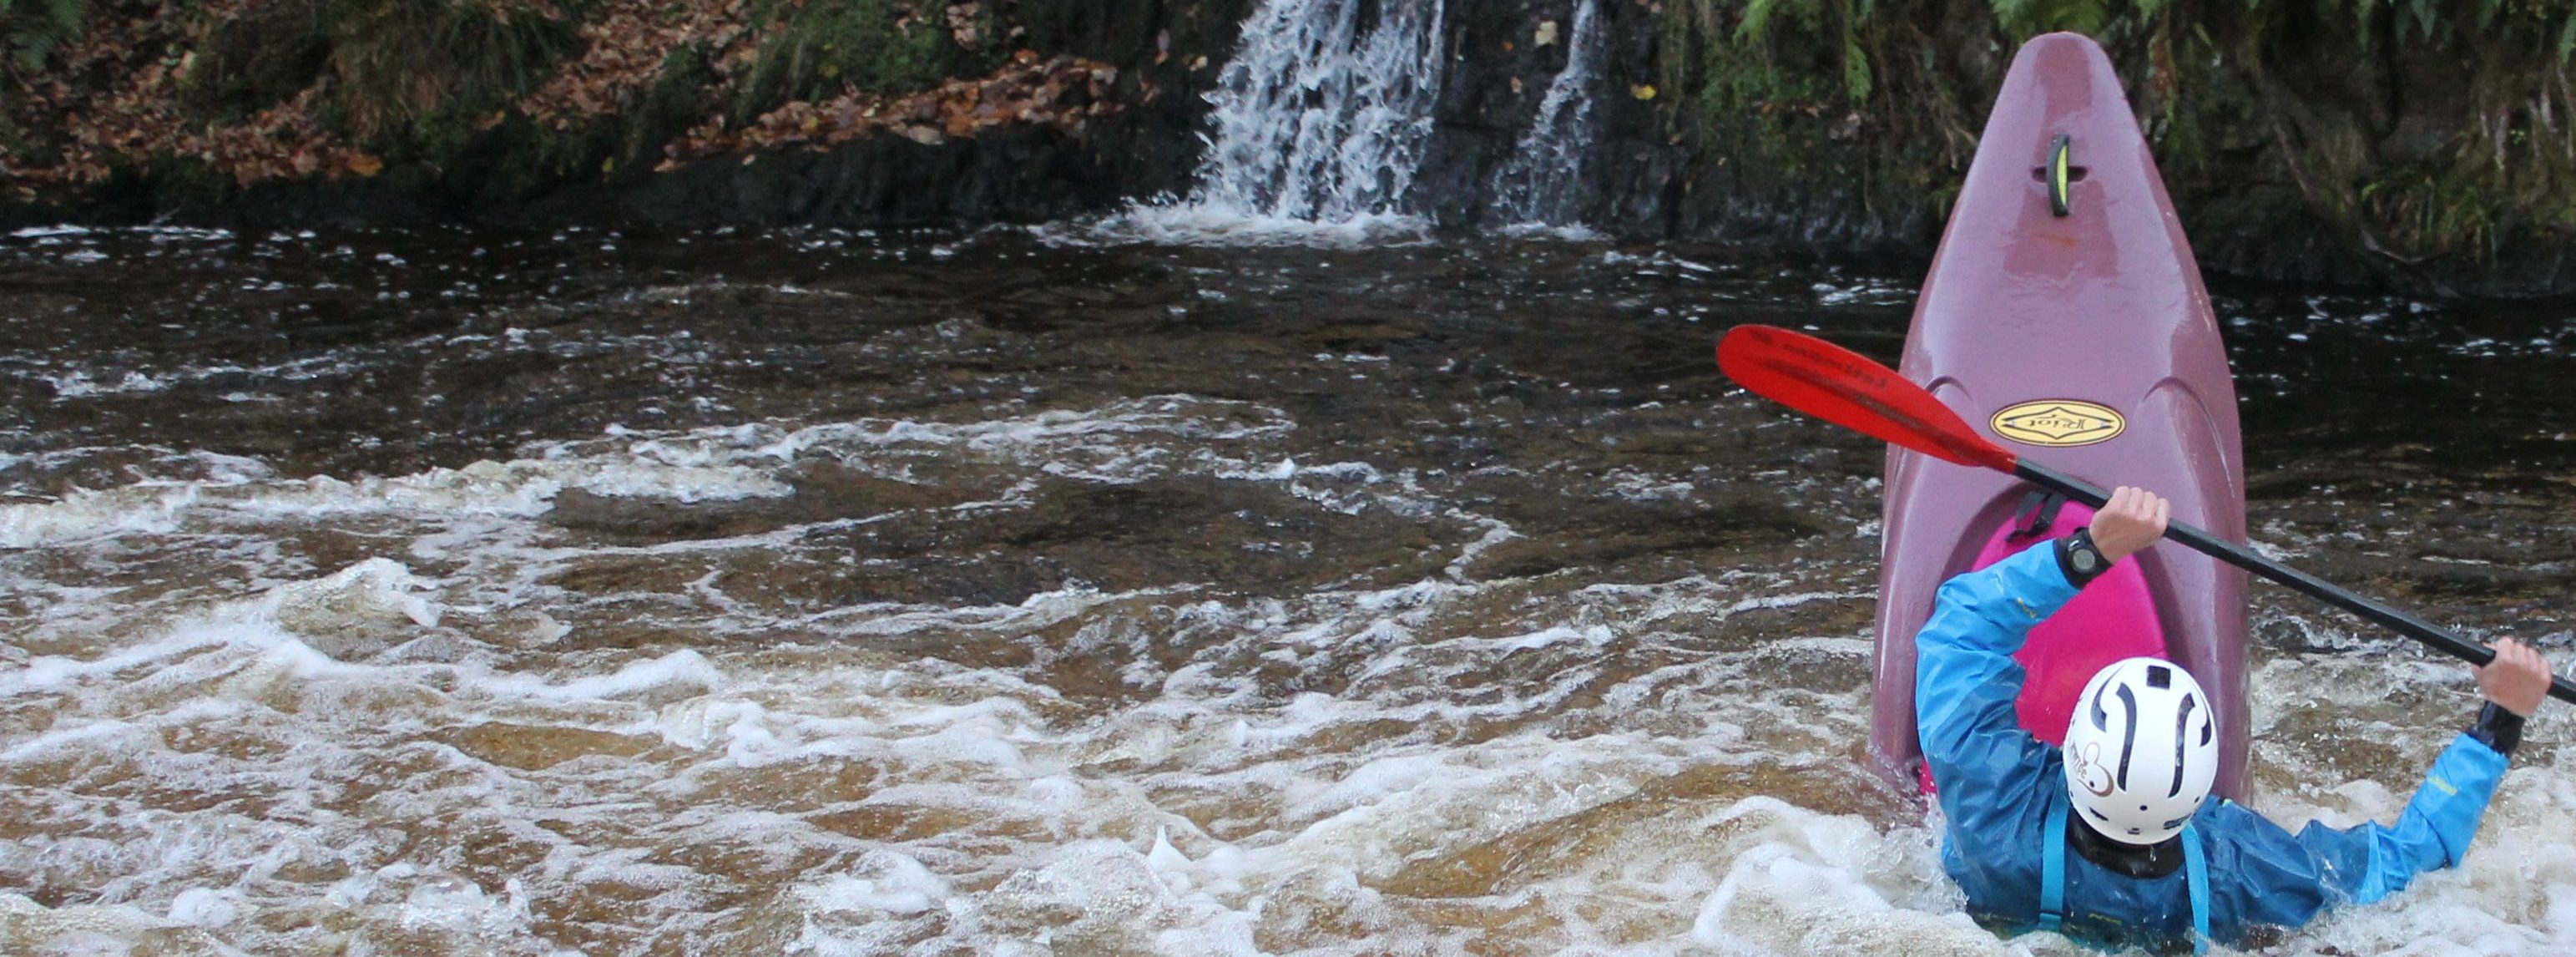
7. Yourself
Its been a dry summer, you potentially haven’t paddled on moving water for some months and it’s been weeks since you even sat in a boat. But look, there’s rain forecast for the weekend! Lots and lots of rain! You hoof it up to Wales or down to Dartmoor after work on Friday, have a beer and a kip then get up bright and early to smash out the first weekend of boating in ages. You get to the get on and… your favourite run is in flood. Do you:
A: Get on anyway
B: Go and see if the other side of the valley is looking any friendlier
C: Go to that lovely bakery in town for a coffee and Danish and see if levels change
The answer is there is no right answer. All I know is that I saw more lost boat posts following Storm Callum than I have in a very long time. If its been a while don’t feel like you can’t just ease yourself back in gently on something a bit easier.
Flat water paddling both help keep you fit and familiar with being in a boat.

Nowadays it is relatively easy to stay sharp over summer with the abundance of man made and dam release venues in the UK. Personally, we use the slalom and playboating spots right on our doorstep to keep us sharp. “Slalom boats are so expensive!” I hear you cry. Join your local club, they’ll most likely have boats available, but if all else fails and RPM will do the job. Even on flatwater, slalom keeps you paddling fit and forces you to practice and refine a whole heap of different strokes which are all very useful on the river.
Slalom helps with blending strokes, edge control, spacial awareness and a heap of other key river skills.
A summer playboating at Chertsey really helps keep your roll, support strokes and underwater awareness solid. Personally, I’m a big fan of canoe polo to improve as well. The intensity is pretty high, so your fitness improves massively, and a lot of the strokes used are transferable to white water: double pumps, support strokes, rolling and boofs to an extent. Anything you can do to keep paddling is worthwhile and will help once the rains do finally return.
Comments
Powered by Facebook Comments